Contents
The Clan Quest Advent Test Kitchen
Ho ho ho hoods everybody, and happy holiday greetings to you all! For the past two years we have had our famous Starbread make a guest appearance in the Advent countdown, but what if you don't have time to proof dough? What if you want the delicious cinnamon taste that Starbread gives in less than an hour? Well, you're in luck, as today I'll be teaching you how to bake Cinnamon Cupcakes.
This is an easy 2 out of 5 Cinnamon sticks with regards to baking difficulty, and is easy to bake in a single afternoon.
Ingredients
Cupcake Ingredients
- 180g Self Raising Flour
- 100g Granulated Sugar
- 5 tbsp Butter
- 125ml Milk
- 1 tsp Vanilla Extract
- 1 large egg
- Pinch of Salt
- 1 1/2 tsp Baking Powder
- 1/2 tsp Ground Cinnamon
- 1/2 tsp Ground Nutmeg
- Cupcake Cases
Topping Ingredients
- 3tbsp Melted Butter
- 150g Butter or Margarine
- 50g Granulated Sugar
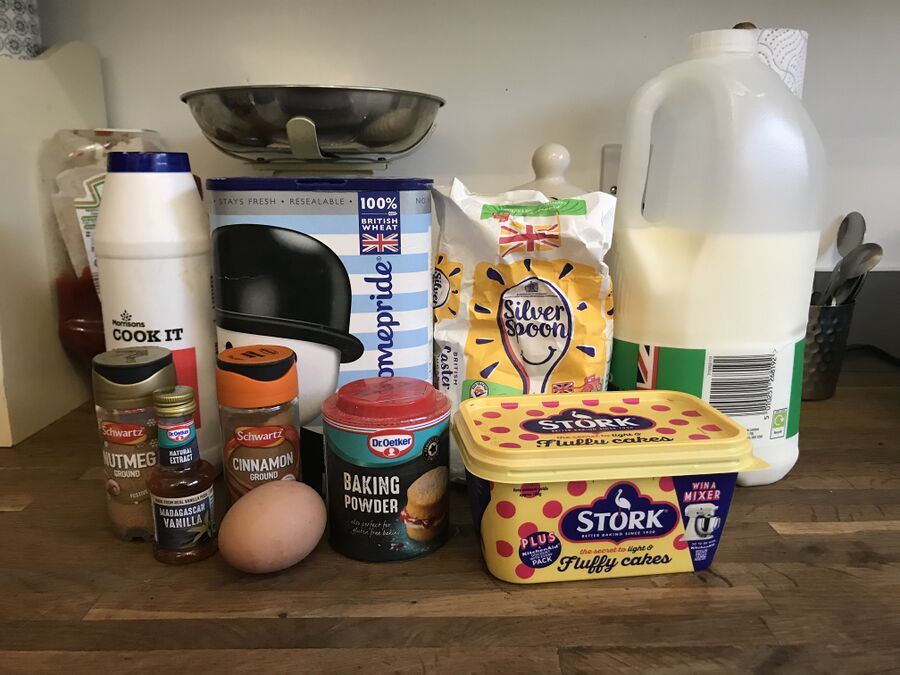
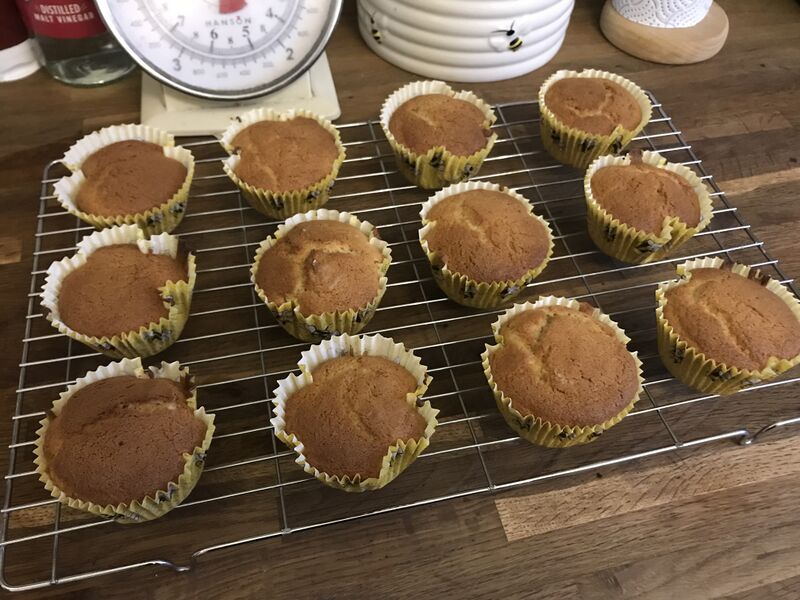
- To begin we're preheating our oven to 180 degrees Celsius/356 degrees Fahrenheit/Gas mark 4, and lining our cupcake cases. I found this recipe yielded 12 full-size cupcakes, but you it is possible to produce more depending on the size of your cupcake cases.
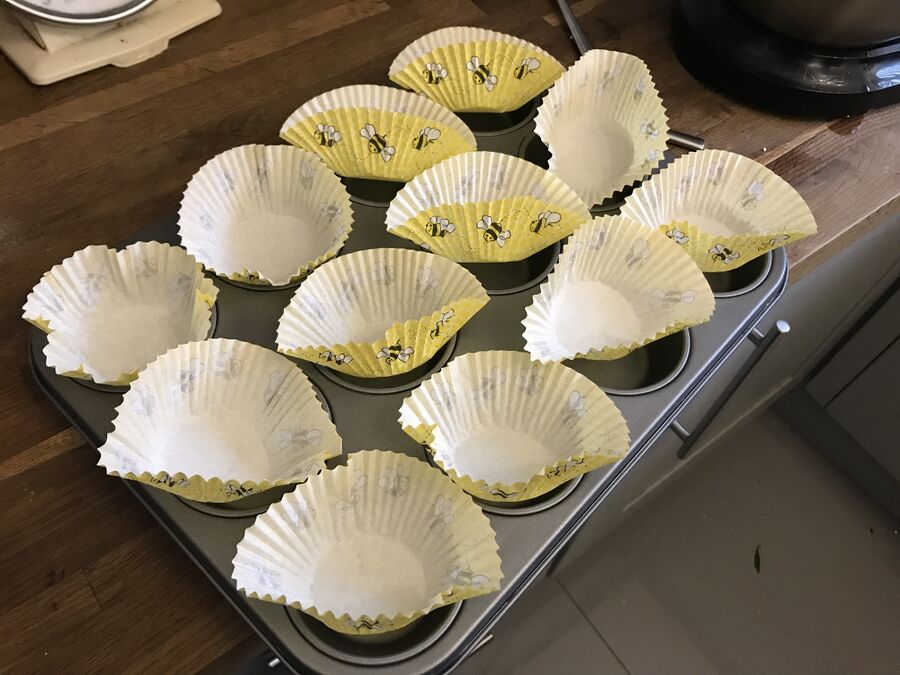
My cupcake cases went on strike as you can see, but that's okay! We're discarding the cases later anyway. If you have silicone muffin trays then you can skip this step altogether!
- Next we're mixing all of our dry ingredients for the cupcakes together into a stand-mixer; Flour, sugar, salt, cinnamon, nutmeg, and baking powder. Mix gently for a few seconds to make sure the cinnamon and nutmeg is evenly distributed.
- Next we're adding our wet ingredients to the stand-mixer; Butter, vanilla extract, milk, and one egg. This batter will be on the thicker side, but feel free to add more milk to adjust the texture of the batter if it's looking a little too thick.
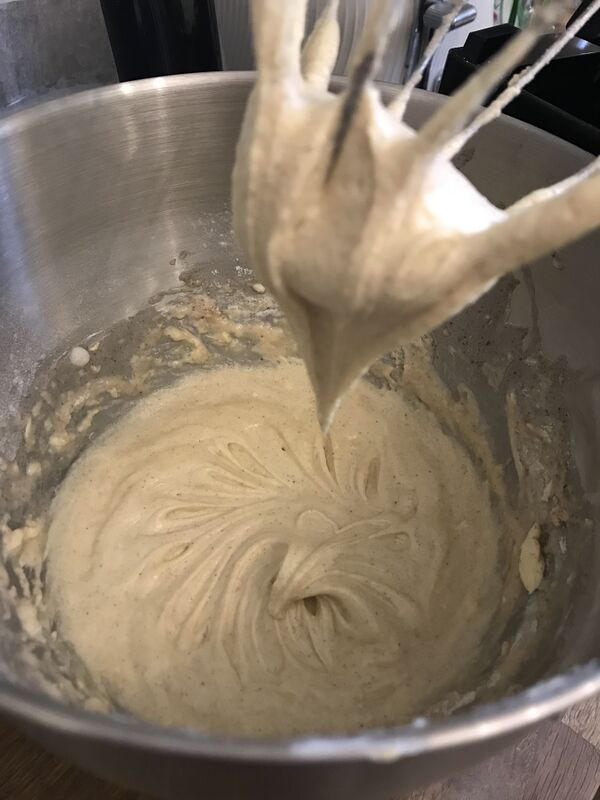
We're looking for this sort of consistency from our batter; thick enough to hold to the whisk, but loose enough to coat the mixing bowl's base fully.
- Next is the fun part. We're taking our rebellious cake liners and we're filling them with batter. Mine put up a fight but they were squarely defeated. Don't be afraid to bang the tray on the kitchen counter to make sure the batter spreads out evenly in the cases.
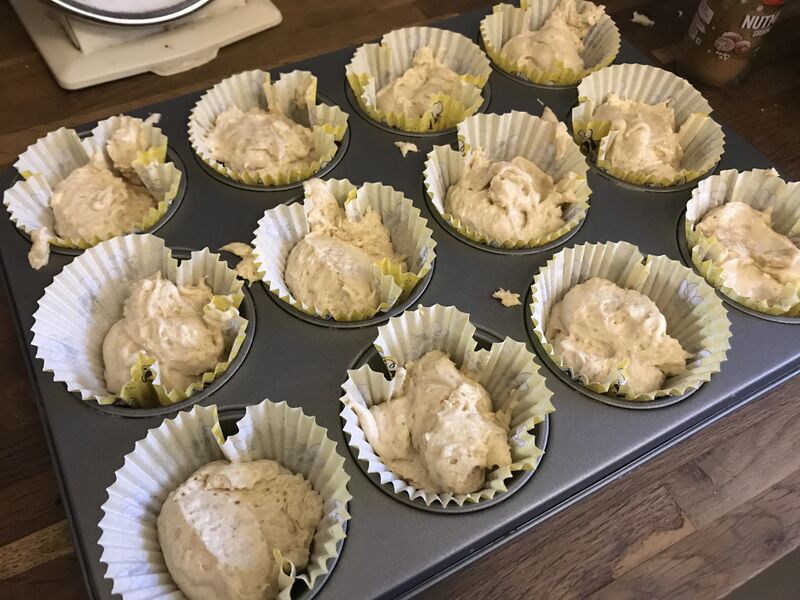
- Take your cupcakes and place them in the oven for 20 minutes. Upon removing from the oven use a knife or a skewer to check that the inside is fully cooked. Allow to cook for a few more minutes if it requires more time. Allow your cupcakes to cool on a wire rack for 5-10 minutes before the next step.
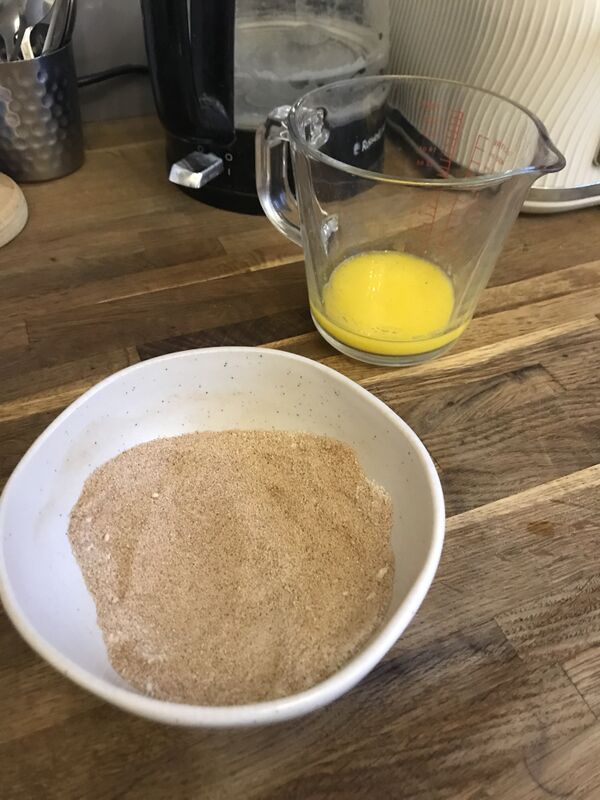
- While our cupcakes cool down, we're going to make our topping mixture. In a separate bowl mix the ground cinnamon and sugar, and make sure the cinnamon is completely mixed in. Melt the butter in another container and place to the side.
- Once your cupcakes have cooled down sufficiently, remove your cupcake cases from the cupcakes. If you used a silicone tray then congratulations, you have saved 5 minutes of your time carefully peeling cupcakes and making sure they don't crumble!
- This is the dangerous step so be warned! We're now gently taking our peeled cupcakes and dunking the top half into our melted butter, and dunking it into our sugar-cinnamon mix to coat the top. Gently place each cupcake back on the wire rack, and rinse and repeat. You can do this while the cupcakes are still warm for that authentic Mr Pretzels experience, but they do run the risk of crumbling. Worth it for the taste though!
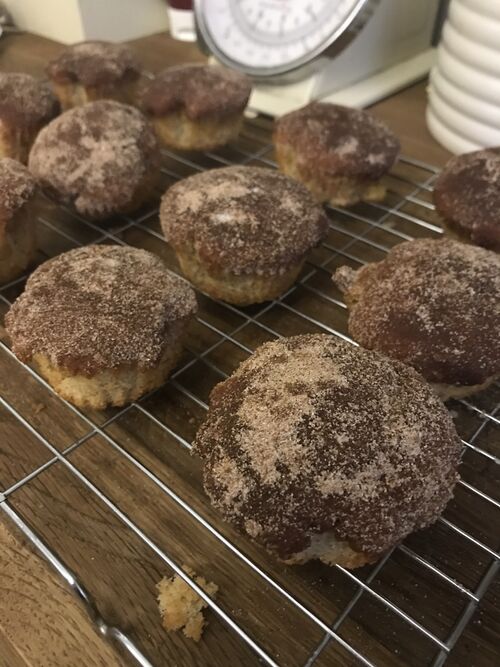
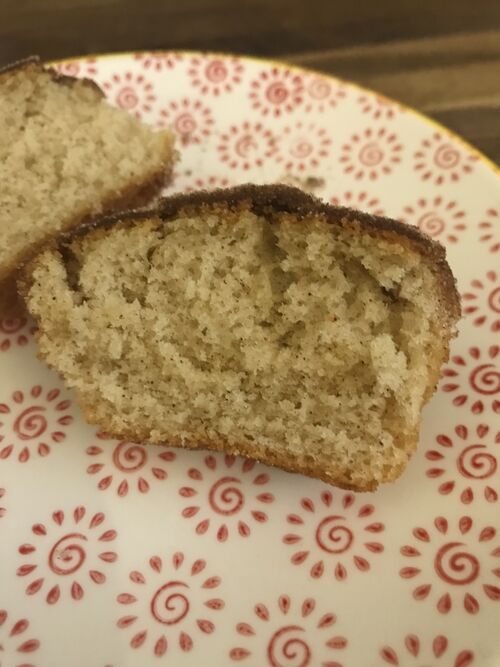
- Et voila! You have made some delicious Christmas tasting cupcakes! A perfect alternative to our famous Advent Starbread for those who want the cinnamon goodness without the fiddly bits. If you store these cupcakes in an airtight container they should keep for up to a week, but I would be surprised if they didn't go in just a few days!
Thank you so much for joining me in the Clan Quest Advent Test Kitchen today, if you gave this recipe a try then I'd love to see your results! A big thanks to everybody who has donated so far to the Advent campaign, if you want to find out more about the charity and how you can donate, read the banner below. Unshood for now folks!
